
High Performance Storage
Rescale’s High Performance Storage offering allows you to maintain a central persistent file storageA computer data storage architecture that manages data as a ... More in the cloud. With storage devices, you can fully manage a file system comparable to an NFS (Network File System) with high read/write throughput that is accessible from any clusterA computing cluster consists of a set of loosely or tightly ... More for compute, post-processing or visualizationVisualization is the representation of complex scientific or... More. This offers even more flexibility for cloud workflows and allows the replication of on-premise workflows on Rescale’s platform with ease.
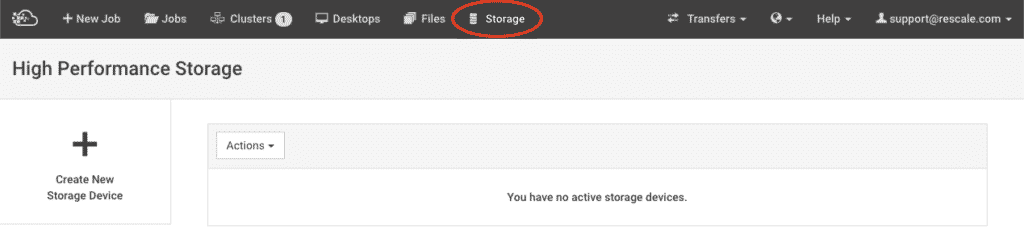
In order to create a storage device, navigate to the Storage section of the Rescale platform and click on Create New Storage Device.
Storage Name – The name of your choice for the storage device.
Storage Size – The amount of disk space allocated for the storage device. Note that the GB and TB units are interpreted in the decimal system (powers of ten). Also note that a small fraction of the size specified will be occupied by the operating system and file utilities on the storage device.
Pricing – The price charged for the storage device on an hourly basis while the storage device is active, based on the storage size and region specified.
Caution: Costs for HPS resources assigned to a Project are covered by the active budgets for that project so if the budget is set to strict and it runs out, the HPS resources are terminated.
Walltime – The number of hours or days to keep the storage device active and accessible, if not manually terminated. Note that when the storage device hits the walltime, all files on the storage device will be uploaded to your account’s cloud storagea simple and scalable way to store, access, and share data o... More before it is terminated.
Region – The preferred region to launch this storage device. Only regions where Rescale offers storage devices and which are allowed for your account will be available in this list.
First Alert – The percentage of full disk space at which to trigger the first storage space email alert.*
Second Alert – The percentage of full disk space at which to trigger the second storage space email alert.*
Auto-extend – When enabled, the storage device disk will automatically expand to twice its size when the specified percentage of disk space is full in order to accommodate running workloads. Note that using certain coretypes, including Calcite, Chromium, Ferrite, and Granite, will expand the storage device disk to four times its size. The auto-extend can be triggered many times on the same storage device as long as it reaches the percentage full criteria.*
* These actions are triggered periodically. If the device’s disk is being filled rapidly, they might only occur after a higher than specified percentage of disk space is full.
Once you click Submit the request to start the storage device will be submitted and it may take up to 15 minutes for the storage device to start and be ready for access. Your storage device will be visible on the same page.

Once the storage device is started you can click on the device in the list in order to view its details and navigate the file system.
Creating Directories
You can create directories within the storage device using the Rescale UI by click the Create Folder button on the storage device page.
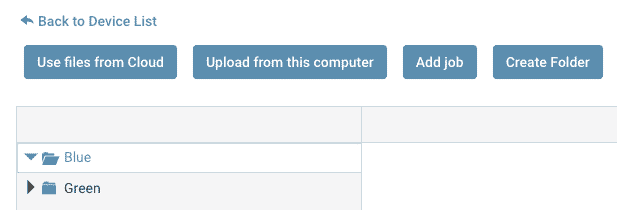
This will enable you to create a new directory under the directory you currently have selected (In the above image Blue is selected and therefore the new directory will be created under Blue) and will present you with a modal to input the new directory name.
Uploading From Cloud Storage or Local Computer
With the intended destination directory selected as outlined above, click on the Use files from Cloud or Upload from this computer buttons and select the files you would like to add to the storage device.
Adding Existing Jobs
Click on the Add Job button. This should present you with the jobs available to be added to your storage device.
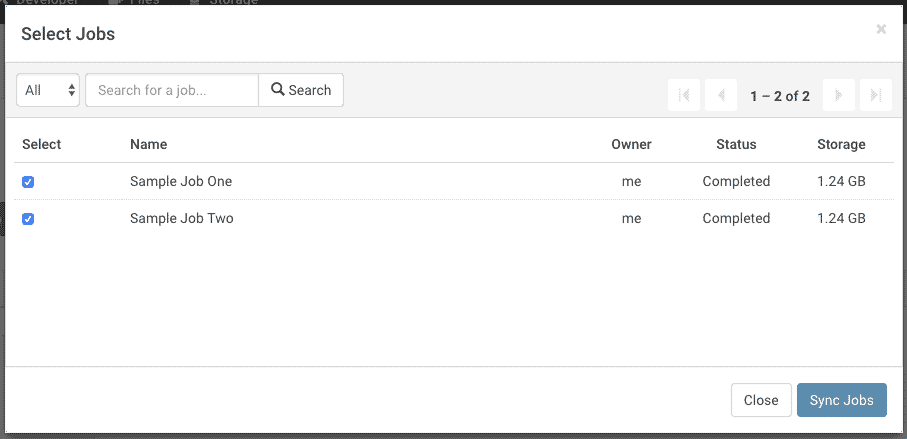
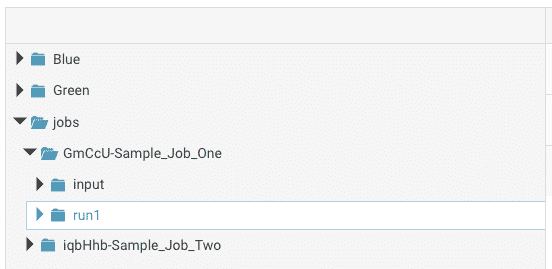
You can select multiple jobs and all input and output files from the jobs will be added to your storage device under the jobs directory.
Any running storage device can be attached to a job and mounted on the job cluster. This allows for reading from and writing to the storage device’s file system from within the job itself. Any data written to the storage device will persist once the job is complete and the job cluster is terminated, making it accessible to other jobs and desktops.
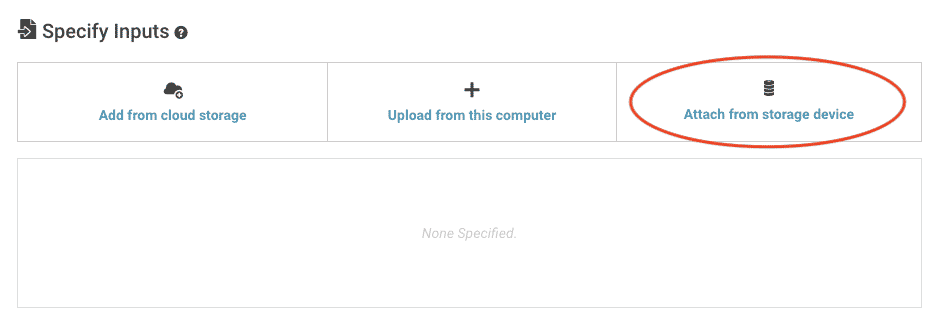
In order to attach one or multiple storage devices to a job, on the job setup page input section click on the Attach from storage device button highlighted below.
Select the storage device you would like to attach to the job and click Next then click Attach Storage Device Without Adding Files.
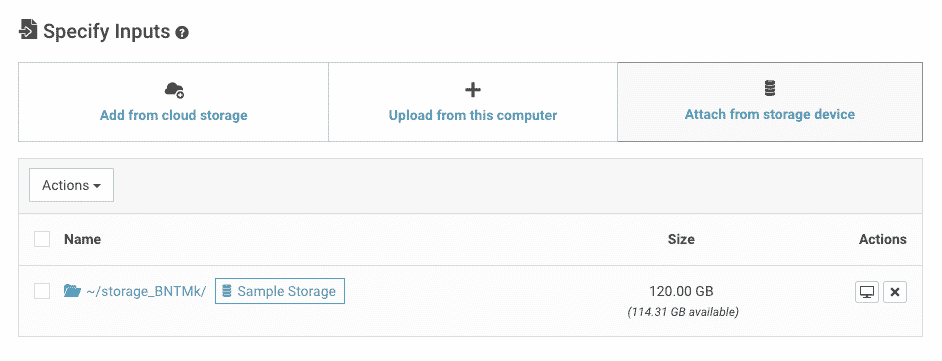
Once the storage device is attached it will appear in the inputs list. The listing will show the mount path of the storage device (~/storage_BNTMk/ in this case) which can be used to access the device as well as a label with the device’s name. You can also expand the storage device listing by clicking on it to view additional details.
Copying or Symlinking Files to Work Directory
In addition to mounting the entire storage device to the job cluster you can also choose to copy or symlink specific files or directories from the storage device to your job’s work directory. The job’s work directory is where your command and analyses are executed. This is similar to adding inputs to the job from cloud storage, rather than reading them directly from the storage device.
In order to copy or symlink files to the job’s work directory, click on the Attach from storage device button, select the storage device you would like to attach to the job, and click Next. Navigate the storage device’s directory structure to the files/directories of interest and select the copy or symlink options as highlighted below.
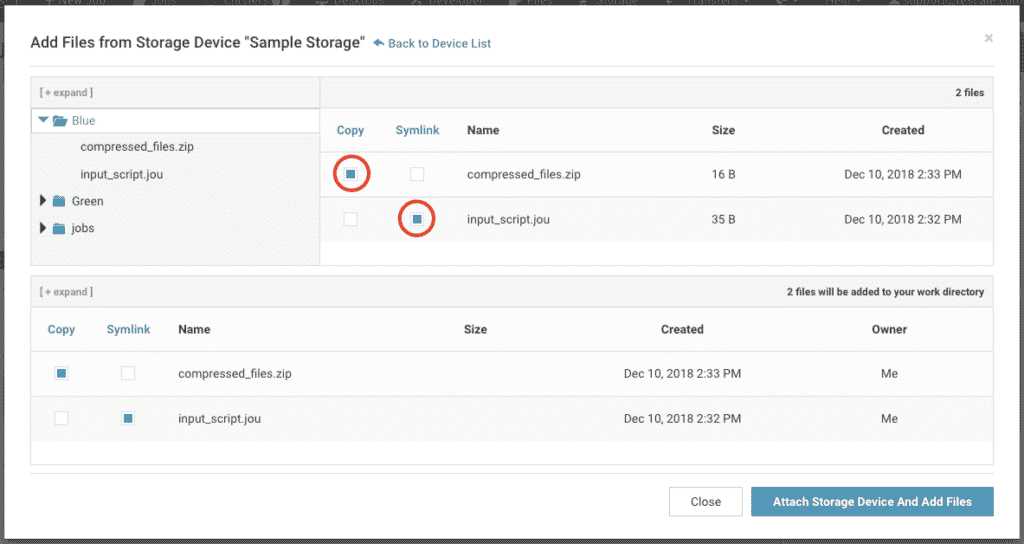
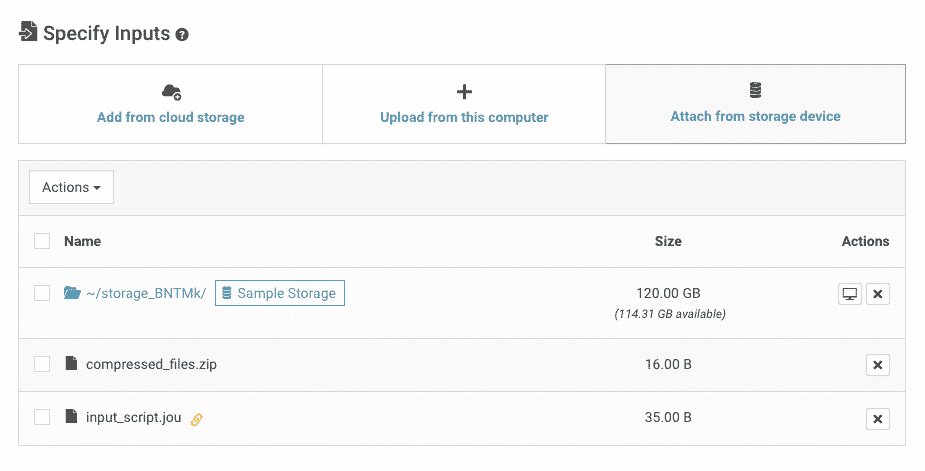
Once all the required files/directories are selected, click on Attach Storage Device And Add Files and the newly selected inputs will appear in the inputs list. A yellow chain link icon will appear next to files/directories which are symlinked.
Any running storage device can be attached to a desktop for reading or writing purposes. Using the storage device as a persistent central storage medium allows the preparation of input files before starting a job, or applying post-processing and visualization once the job is complete using a graphical user interface.
In order to attach a storage device to a desktop, go to the Add Storage Device section of the desktop setup page and select one or multiple storage devices from the list before launching the desktop.

Once the desktop is launched, the storage device will be mounted and accessible under the user’s home directory with the storage device ID prefixed with “storage_” as the directory name. For example the storage device mount point is storage_BNTMk in the sample desktop highlighted below. Any files added to, or altered within, this directory will be persistently reflected on the storage device.

Storage devices can only be shared with members of the same company or with Rescale Support for debugging purposes. In order to share a storage device, go to the High Performance Storage page and select the storage device within the list. Then click Share Storage Device from within the Actions dropdown.

To share the storage device with a company member, enter their email and click on Share. To share the storage device with Rescale Support enter support@rescale.com and click Share.
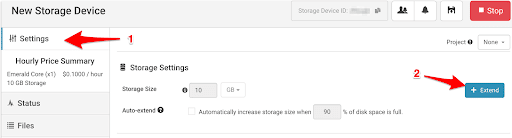
Storage devices can be extended and increased in size multiple times after initial launch if the auto-extend option was not enabled. This offers flexibility to grow the storage device’s capacity while also maintaining predictable infrastructure costs.
To extend the storage device, on the Storage Device Settings page (1), click the +Extend button (2).
Then, enter the numerical value and select an appropriate unit in the dropdown.
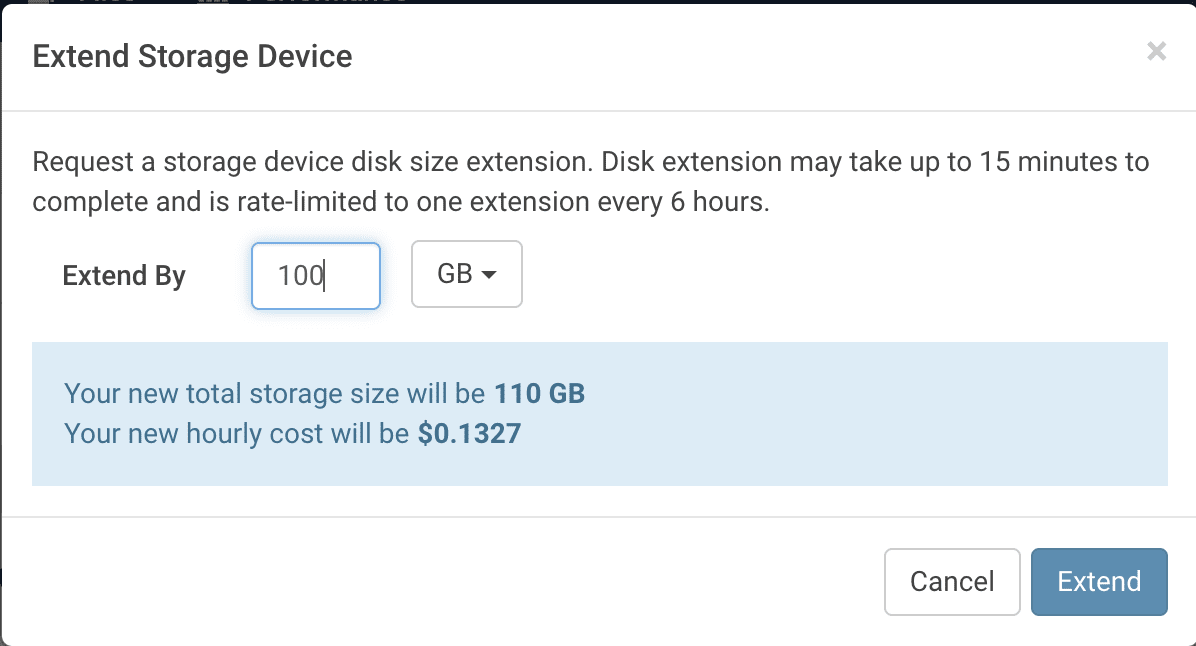
Note that the disk extension may take up to 15 minutes to complete and is rate-limited to one extension every 6 hours.